Is your garage less of a parking space and more of a final resting place for things you might need someday? You’re definitely not alone!
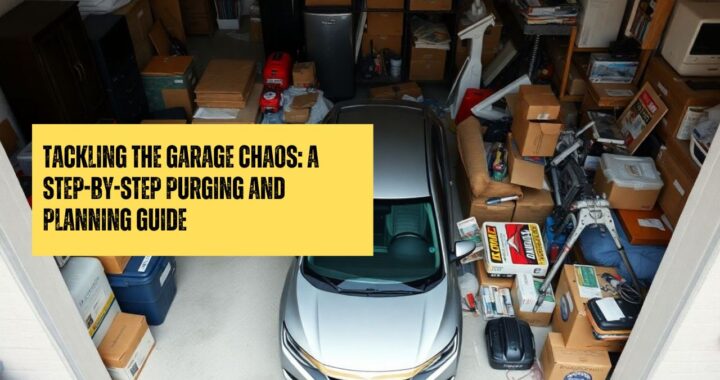
Garages often become the catch-all zone for everything from holiday decorations and old paint cans to forgotten sports equipment and half-finished projects. Looking at it all can feel overwhelming, making it hard to know where to even start.
But imagine opening your garage door and feeling calm instead of stressed. Imagine finding what you need quickly, or even – gasp! – parking your car inside. It is possible.
Taking back your garage is a big job, but breaking it down into manageable steps makes it totally doable.
Let’s walk through how to purge the clutter and plan your space.
Why Garages Become Clutter Zones
It happens easily, doesn’t it? The garage is often disconnected from the main living area, making it easy to dump things there “for now” and then forget about them. It holds bulky items, seasonal stuff, and things too messy for indoors.
Before you know it, piles grow, pathways shrink, and finding anything becomes a treasure hunt (minus the treasure). Understanding this helps you realize it’s not just you – it’s the nature of the space!
Step 1: Prepare for Battle (Mentally and Physically)
Before you dive in, take a moment to get ready.
First, accept that this will likely take more than one afternoon. Be realistic and schedule dedicated blocks of time – maybe a few hours each weekend for a while. Think of it as a project.
Second, make sure you have some clear floor space outside the garage if possible, or clear a large zone inside where you can sort things. You’ll need room to create temporary areas for items you plan to keep, donate, or discard. Grab some water, put on comfy clothes, and maybe queue up some music!
Step 2: The Big Sort – One Section at a Time
Don’t try to tackle the whole garage at once – that’s a recipe for burnout.
Mentally divide your garage into smaller, more manageable sections. Maybe start with one wall, one corner, or even just one workbench. Pick your first section and commit to dealing with everything in that area before moving on.
As you pick up each item, make an immediate decision:
1. Keep: It’s useful, you love it, and you have a plan for it.
2. Donate/Give Away: It’s in good condition, but you don’t need it anymore.
3. Trash/Recycle: It’s broken, expired, unusable, or actual trash.
Physically move the item to its designated temporary area (Keep zone, Donate zone, Trash zone). Resist the urge to just shuffle things around – handle each item and make a choice.
Step 3: Be Honest – Asking the Tough Questions
The “Keep” pile can be tricky. This is where you need to be really honest with yourself.
For each item you’re tempted to keep, ask:
Have I used this in the last year? (Be realistic!)
Do I have more than one of these? Do I need duplicates?
Is it broken? Will I realistically fix it soon?
Does it truly serve a purpose in my life now?
Could I borrow or rent one if I needed it rarely?
This applies to everything – tools you haven’t touched, leftover project supplies, sports gear for a hobby you no longer pursue, boxes of unknown “memories.”
Letting go can be hard, but it’s key to reclaiming your space.
Step 4: Clear it Out – Getting Rid of the Unwanted
Once you’ve sorted through a section (or the whole garage!), don’t let the Donate and Trash piles linger. Bag up the trash immediately. Schedule a pickup for donations or plan a trip to the donation center ASAP.
Getting the unwanted items out of your space provides a huge mental boost and lets you see the actual progress you’ve made. Remember to check local guidelines for disposing of things like old paint, chemicals, or electronics responsibly.
Step 5: Plan Your Zones – Thinking About Function
Now look at the cleared space and the items you’ve decided to keep. Before you just start putting things back, think about how you want to use your garage. What are the main jobs this space needs to do?
- Parking: Where do your cars need to fit? Mark out that space mentally.
- Workshop: Do you need an area for DIY projects or repairs?
- Gardening: Where would it make sense to keep lawn and garden supplies?
- Sports/Hobbies: Can you group all the bikes, balls, or camping gear together?
- Seasonal Storage: Do holiday decorations or off-season items need a dedicated spot?
Think in terms of zones or activity areas. Sketch it out on paper if it helps. The goal is to assign a general area or purpose to different parts of your garage.
Group similar “Keep” items together based on how you’ll use them. Things used together should ideally live near each other. This planning step helps ensure the garage stays functional long-term, rather than just becoming a neater version of its old cluttered self.
Keep Going, One Step at a Time
Transforming a chaotic garage takes effort, but it’s incredibly rewarding. Remember to work in manageable chunks, be honest during the sorting process, get rid of unwanted items quickly, and plan your zones thoughtfully.
Celebrate your progress along the way, and soon you’ll have a functional, organized garage space you can actually use and enjoy!
Tote-Ally Organized
Tote-Ally Organized designs and builds custom residential tote racks for garages, basements, and storage spaces. Our heavy-duty racks maximize space, improve organization, and include ToteScan QR labels for easy inventory management, homeowners declutter with confidence.
Feeling inspired to organize your garage or basement storage? If you’re in the Omaha or Lincoln area, let’s talk about creating a custom tote rack system tailored to your space and needs.